I started preserving summer produce in 2013, and I still don’t know why I made that first batch of pickle relish. Canning wasn’t necessarily trendy or cool at that time, especially for a recent college graduate in a tiny apartment. I’d like to think there’s some kind of ancestral instinct that sparked my curiosity, a little push from all those farmers who came before me.
What I’ve learned since then is that canning and preserving is not just about stocking shelves. Preserving food honors tradition, reminds us of important people, and captures beautiful moments. Our shelves become time capsules that carry us through dark winters.
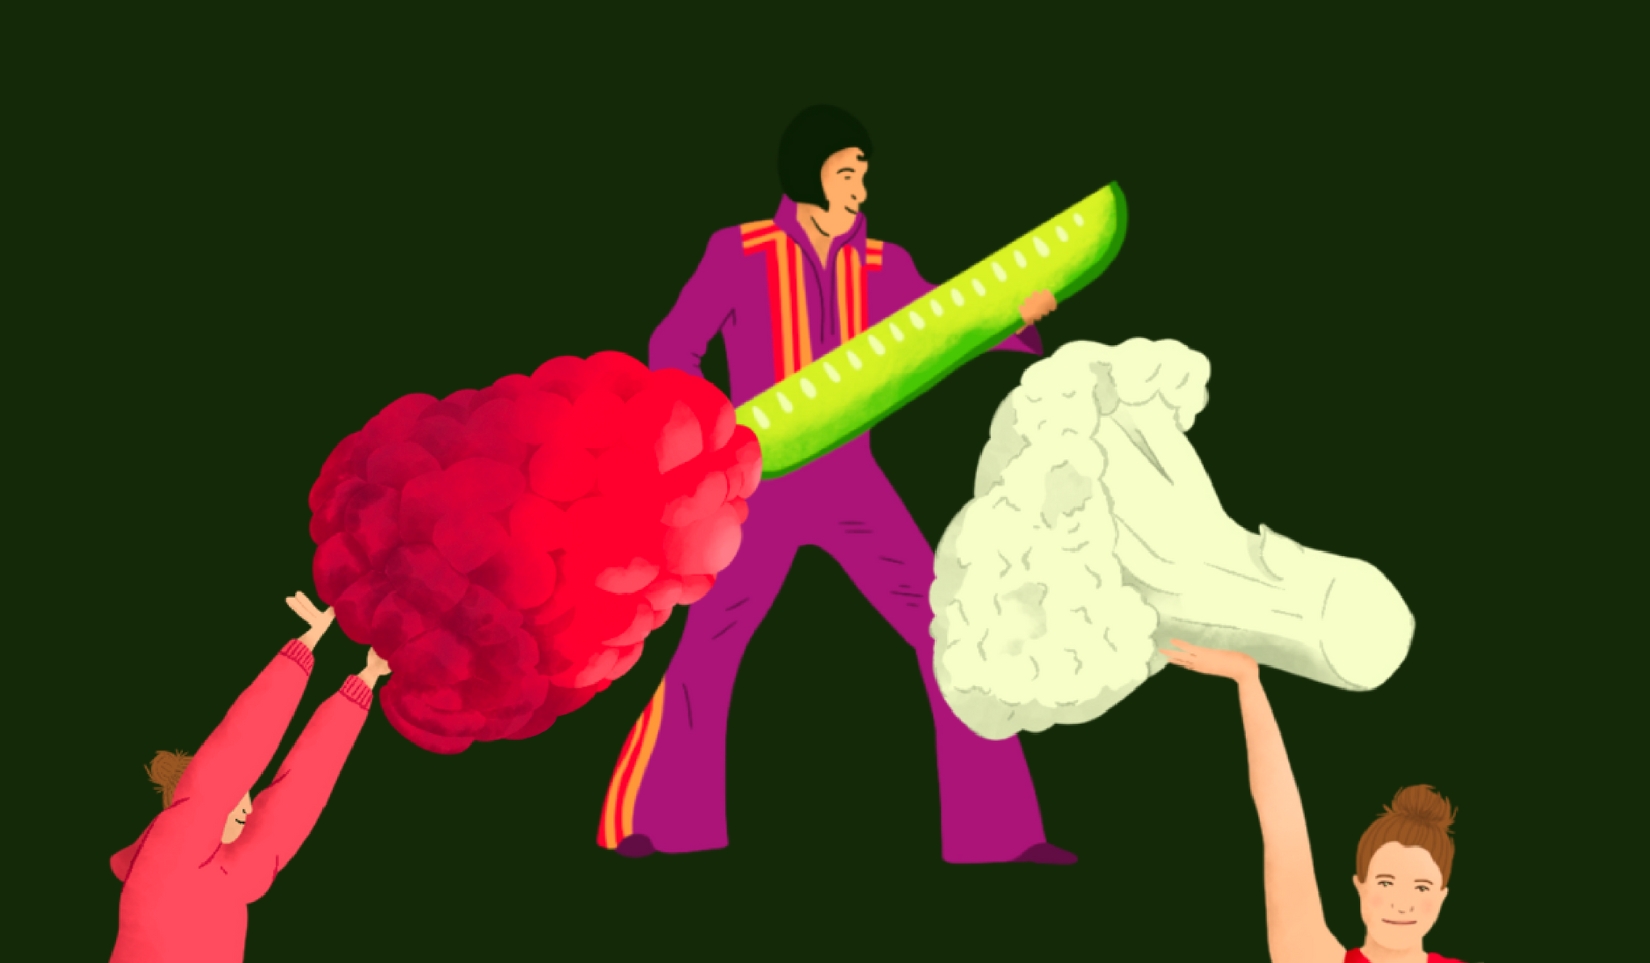
Below are three recipes that mean a lot to me. Two of these recipes can be canned for long-term storage. If you are new to canning, I’d highly recommend checking out University of Minnesota Extension. They offer how-tos, classes, and advice for at-home preserving.
Raspberry Jam
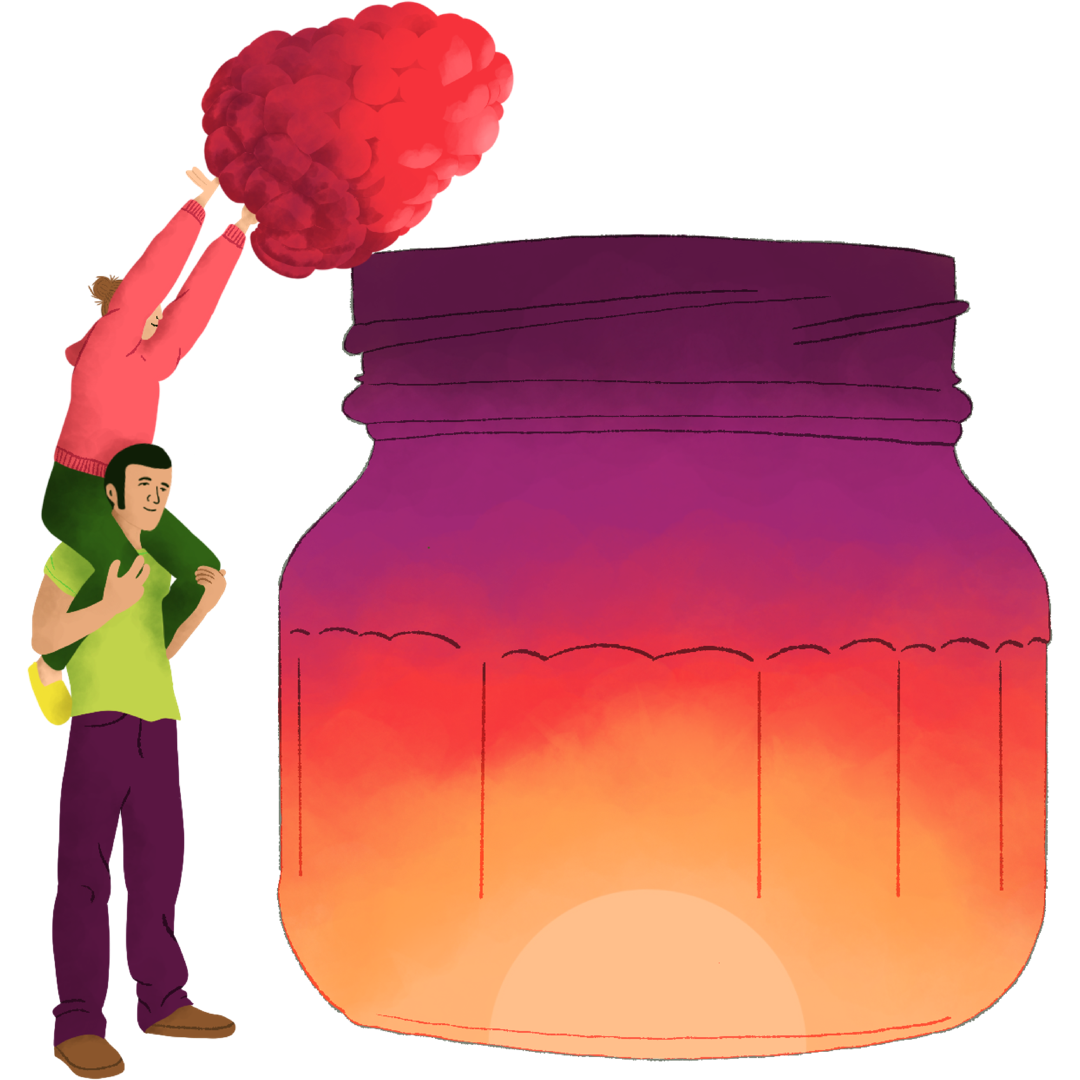
I have my grandpa’s raspberry plants in my yard. They ripen late in the summer and come in abundance. When they’re ready to be picked, they’re deep red and release from the plant with a gentle pull.
In peak season, my husband Peter and I go out to pick berries together in the morning before the heat. We spend just 20 minutes or so in the raspberry patch, talking about our days, navigating the brambles, and helping each other snag hard-to-reach berries.
When we’re done picking, I always say, “Thanks, Grandpa!” He passed away 15 years ago, and this is my way of keeping him around. Making raspberry jam brings a little bit of him into the winter months too. Spreading that jam on a piece of toast in the depths of February is like eating a memory. The summer sun, mornings with Peter, and memories of my grandpa are all in that jar.
The ingredients in jam are minimal, but the boiling temperature is crucial; the sweet spot is 220°F, so having a thermometer on hand is important.
Raspberry Jam, adapted from So Easy to Preserve by University of Georgia Extension
Makes 7-8 half pint jars
Ingredients
9 cups crushed raspberries
6 cups sugar
2 Tbsp lemon juice (optional)
Combine all ingredients and bring to a boil. Stir regularly to avoid scalding and boil until temperature reaches 220°F, then turn off the heat. If you’re storing for short-term refrigeration, ladle jam into jars and allow the jam to cool to room temperature before covering and refrigerating. If you’re canning for long-term storage, follow your standard water bath canning steps and process for five minutes.
*Note: If you prefer a seedless jam, heat the berries until soft and sugar is dissolved, then run the mixture through a sieve.
Pickles
The jokes about garden abundance are most often about zucchini, but cucumbers grow just as quickly and can easily overwhelm a small household. This recipe will use up a mound of cucumbers, and you can keep them for months in the refrigerator, but they probably won’t last that long.
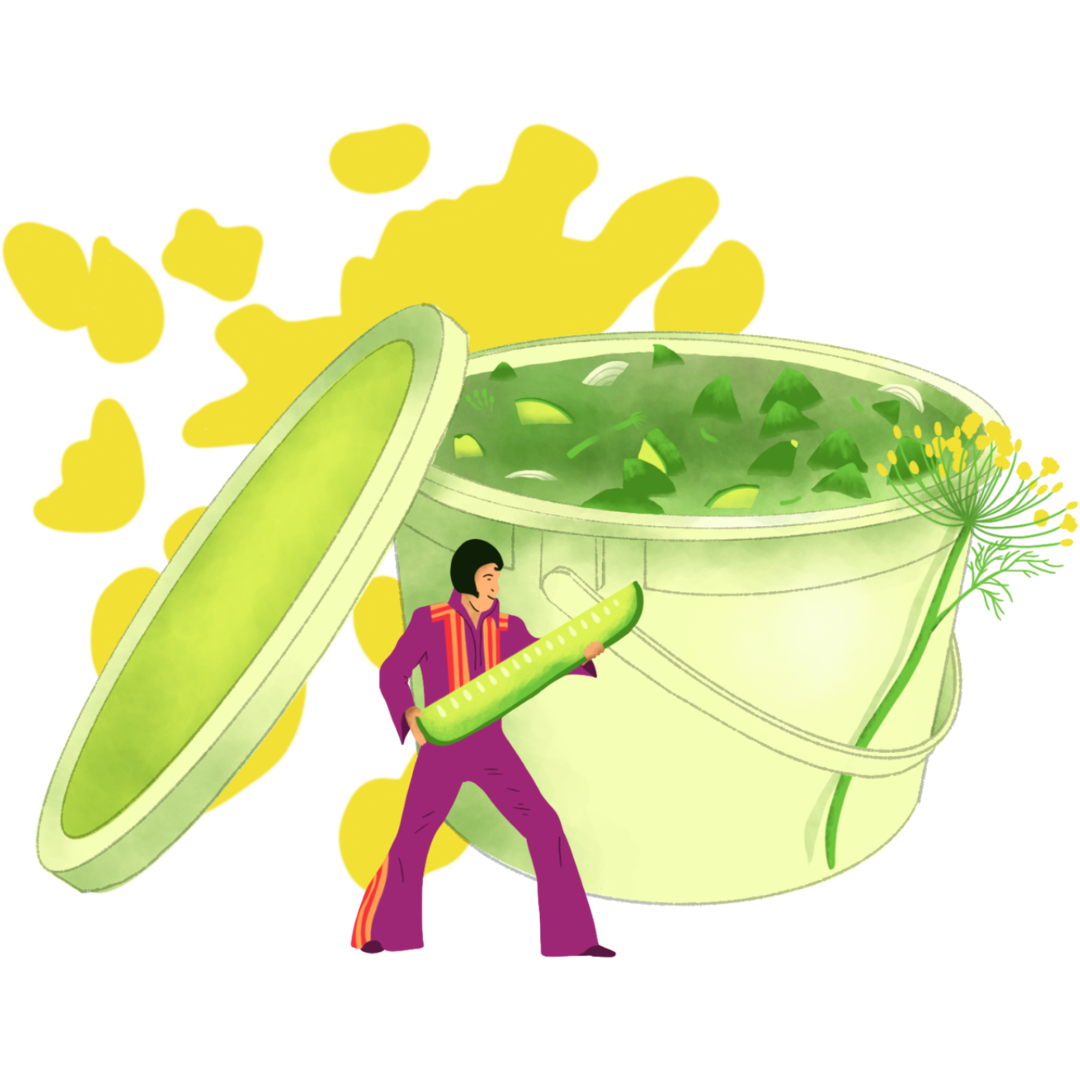
I got my grandpa’s pickle recipe at a family reunion more than a decade after he passed away. A thoughtful relative shared how my grandpa used to make these pickles in a one-gallon ice cream bucket – a little detail that felt so right and suited him so perfectly. Whenever I make these pickles, I listen to Elvis. We had talent shows in my grandparents’ living room and pretended the banana from a faux fruit arrangement was the microphone; my grandpa always sang a few lines of one of Elvis’ hits. While you make these, I’d encourage you to listen to some music that reminds you of a loved one; I swear it makes them taste better.
Pickles, my Grandpa Bill Hauser’s recipe, adapted so as not to give away all family secrets.
Makes a one gallon ice cream tub of pickle spears. Yes, you can half, or even quarter this recipe!
Ingredients
6 cups water
3 cups white vinegar
½ cup sugar
⅓ cup kosher or sea salt
6 heads of dill
1 onion, sliced thinly
2 cloves of garlic, smashed
Enough cucumbers to fill the bucket or jar, cut into spears with blossom end removed (for me, this is normally 12-15 cucumbers, but this will vary with size and variety.)
Combine water, vinegar, sugar, and salt over medium heat. Heat the mixture, stirring occasionally, until the salt and sugar dissolve; the mixture does not need to boil.
Pack your jar/bucket by putting half the onion, half the heads of dill, and one clove of garlic on the bottom, then tightly pack in the cucumber spears and top with the rest of the onion, dill, and garlic. Carefully pour the warm vinegar mixture over the cucumbers, wiggling the jar/bucket occasionally to release air bubbles. Cover, and leave the pickles out on the counter for 24 hours, then move to the refrigerator.
My favorite time to eat these is after they’ve been in the fridge for one to four days, but I’ve eaten them after a month or more, and they’ve still been great.
*Note: this recipe cannot be canned for long-term storage.
Giardiniera
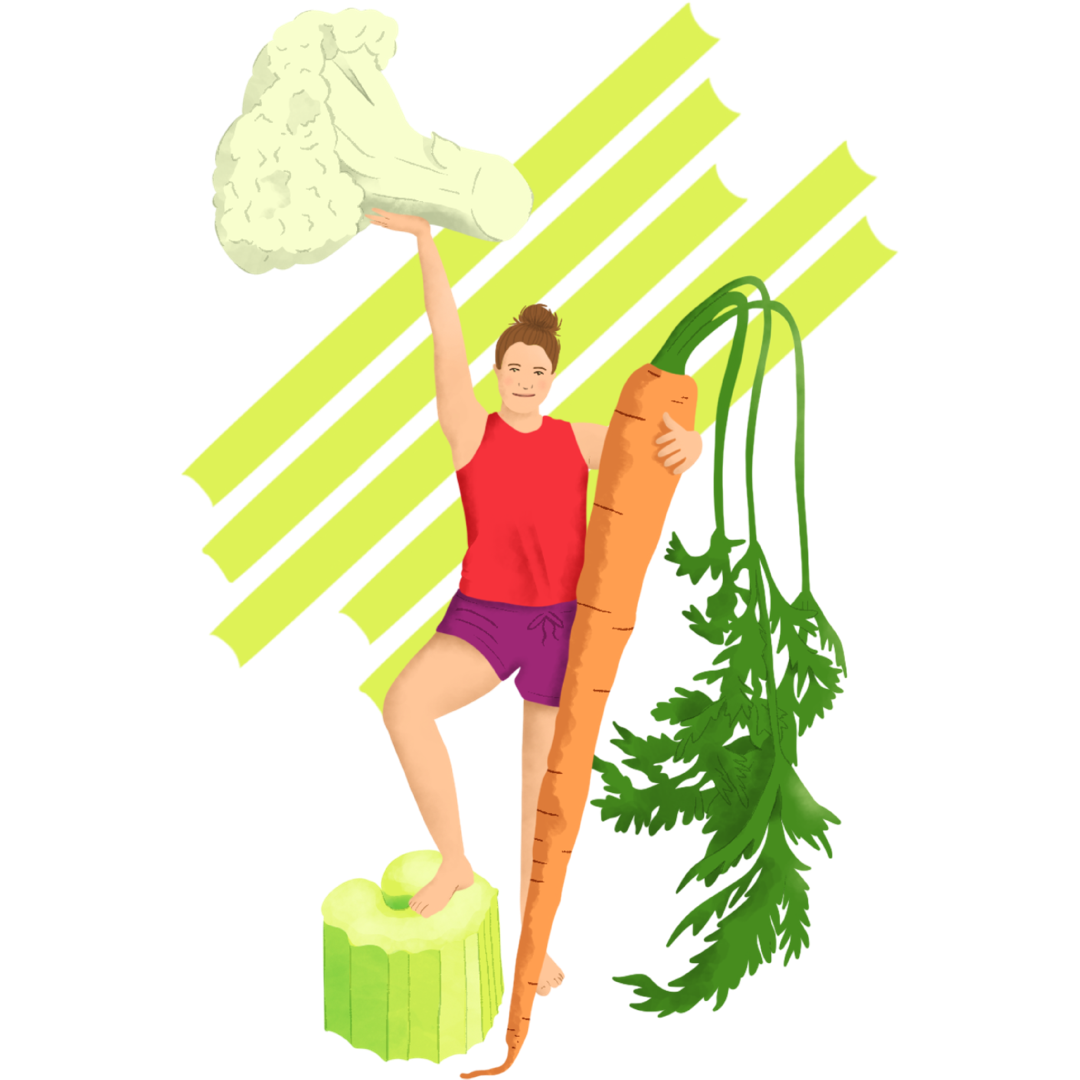
I rarely miss a weekend at the big Minneapolis market on Lyndale. Every year around the end of September or early October, when summer has officially given in and the mornings are cool, the big buckets come out at the market. The bushels of tomatoes, peppers, eggplant, and beans that market-goers cart away in big trash bags, wagons, and rolling carts. It’s around this time that my in-laws come to visit, and we split a bushel of red peppers. The peppers get roasted and turned into hummus, marinated in oil and herbs, or simply sliced up and frozen for winter stir fries and chili.
One of my favorite ways to use a few of these peppers, along with an assortment of other late-season veggies, is giardiniera. This Italian pickle is a wonderful way to add a vinegary kick to sandwiches, salads, and charcuterie boards all year long. Opening a jar of giardiniera brings me right back to cool mornings surrounded by buckets of beautiful produce at the farmer’s market.
Giardiniera, adapted from Foolproof Preserving by America’s Test Kitchen
Makes 4-5 one pint jars
Ingredients
½ head (about 1lb) cauliflower, cut into one inch florets
3 carrots, sliced into ¼ inch rounds
2 celery ribs, cut into ½ inch pieces
2 bell peppers, cut into ½ inch strips
2 chiles (serrano, jalapeño, or fresno are great), sliced thin
6 cloves of garlic, sliced thin
1 tsp whole coriander seeds
4-5 bay leaves (one for each jar)
1.5 cups white vinegar
1.5 cups red wine vinegar
2.5 cups water
¼ cup sugar
2 Tbsp pickling salt
½ tsp pickle crisp (optional)
Combine all the vegetables in a large bowl and mix thoroughly. Divide the coriander seeds and bay leaves evenly among all the jars, then pack each jar tightly with the mixed vegetables. Bring the two vinegars, water, sugar, salt, and pickle crisp (if using) to a boil. Once the salt and sugar have dissolved, pour the hot brine into the packed jars, using a chopstick to dislodge any bubbles.
For short-term storage, allow the jars to cool to room temperature before covering and refrigerating. Wait at least two days before consuming. Giardiniera can be stored in the refrigerator for five months or more.
For long-term storage, follow your standard water bath canning steps and process for 10 minutes at a boil, then turn off the heat and allow the jars to sit in the water for five minutes before removing.